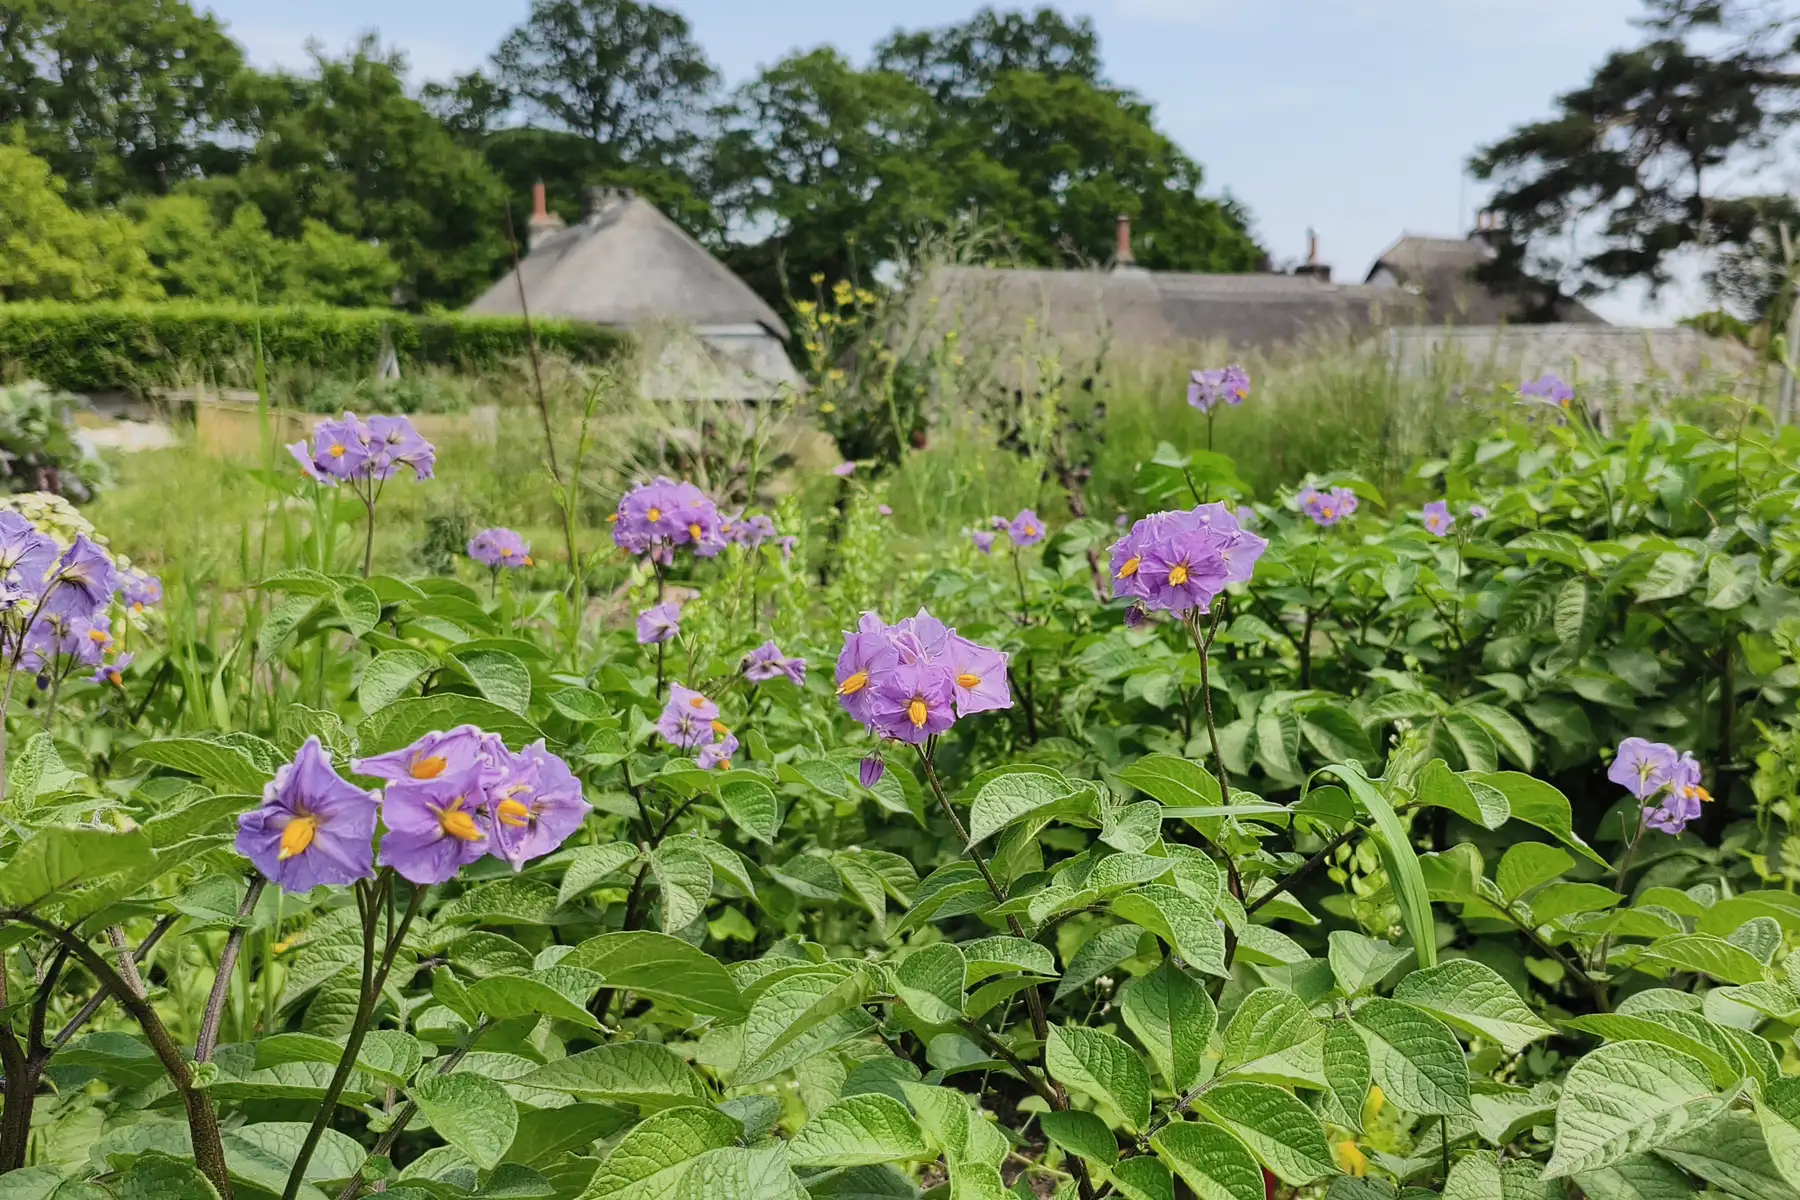
Potatoes are often the first true commitment of the growing year. In early March, while the soil is still cold and the weather remains uncertain, we begin preparing seed potatoes and encouraging them to wake slowly and ready themselves for planting. At this stage, little outdoors feels settled. Frosts are still possible, the ground may be heavy or waterlogged, and growth elsewhere in the garden is tentative. Preparing potatoes now is therefore deliberate work, done under cover and in step with the season.
Allowing seed potatoes to develop strong, compact shoots before planting gives them a clear advantage once conditions improve. Plants establish more evenly, make better use of early light, and grow more resiliently through the changeable weeks of spring. This makes a real difference to plant strength, harvest timing, and overall yield, particularly in cooler, exposed, or upland gardens where the growing season is shorter and margins for error are smaller. In many gardens, potatoes set the rhythm for the year ahead. Taking care with them at the outset lays down a steady foundation, both practical and psychological, for the season to come.
What are seed potatoes?
Seed potatoes are potatoes grown specifically for planting rather than eating. They are produced under controlled conditions and are certified to be free from key potato diseases and viruses, particularly those that reduce yield or persist in the soil. Certification matters because potatoes are propagated vegetatively. Any disease present in the parent tuber is carried forward into the next generation. Over time, this can significantly weaken plants, reduce harvest size, and introduce problems that are difficult to eliminate once established in a garden or allotment.
Seed potatoes are also selected for:
- Strong, even sprouting
- Predictable growth habits
- Reliable yields
- True-to-type characteristics for each variety
This consistency is especially important when planning planting density, harvest timing, and crop rotation.
Why not use supermarket potatoes?
Although supermarket potatoes may sprout, they are not suitable for planting. Most are treated with sprout suppressants to extend shelf life, which can result in weak, uneven growth if planted. More importantly, they are not certified disease-free and may carry viruses or fungal diseases without showing obvious signs. Introducing these diseases into soil can:
- Reduce yields for several years
- Spread to other potato crops nearby
- Compromise future growing seasons on the same plot
For allotments and shared growing spaces, using certified seed potatoes is also a matter of good practice and responsibility toward neighbouring growers.
Size and preparation
Seed potatoes are usually sold by size rather than weight. Medium-sized tubers, roughly egg-sized, perform best. Very large seed potatoes can be cut into pieces if each piece has at least one healthy eye, but this is optional and best avoided in cold or damp conditions, where cut surfaces are more prone to rot.
Before planting, seed potatoes are typically chitted to encourage short, sturdy shoots. This helps plants establish more quickly once in the ground and can bring harvests forward, particularly for early varieties.
Chitting potatoes
Chitting is the process of allowing seed potatoes to sprout before planting.
Why chit?
- Earlier harvests
- Stronger initial growth
- More even emergence
- Better performance in short seasons
How to chit
- Place seed potatoes in trays, egg boxes, or shallow boxes
- Position with the eyes facing upward
- Keep somewhere cool, bright, and frost-free (5 to 10°C is ideal)
- Avoid darkness, which produces long, pale shoots that snap easily
After four to six weeks, potatoes should have short, sturdy shoots about 1 to 2cm long.
Planting
In the ground (traditional)
- Dig a trench 10 to 15cm deep
- Add compost or well-rotted manure
- Plant shoots upward
- Cover lightly, then earth up as plants grow
Best for: maincrop potatoes and larger harvests.
In pots and containers
- Start with 10 to 15cm of compost
- Add potatoes, shoots up
- Cover lightly
- Keep adding compost as plants grow
Best for: small spaces, patios, early potatoes.
In sacks or grow bags
- Same method as pots
- Ensure good drainage
- Keep evenly watered
Best for: flexibility and easy harvesting.
No-dig or shallow planting
- Place potatoes on soil surface
- Cover with thick compost or straw
- Top up as growth appears
Best for: no-dig beds and lighter soils.
When to plant
- First earlies: late March to early April
- Second earlies: early to mid April
- Maincrop: mid to late April
Plant when the soil is workable and no longer waterlogged. If frost is forecast, wait, or be ready to earth up or cover emerging shoots.
How many potatoes do you need?
In the ground
- 4 to 5 seed potatoes per square metre
- Space 30cm apart in rows
- Rows spaced about 60cm apart
In containers
| Container | Seed potatoes |
|---|---|
| 30 to 40L pot | 2 to 3 |
| Large sack | 2 to 3 |
| Dustbin or barrel | 3 to 4 |
More is not better, as overcrowding generally leads to small harvests.
Things to watch for
Frost
Young shoots are vulnerable. Earth up generously or cover with fleece if frost threatens.
Blight
- Appears mid to late summer
- Worse in warm, wet conditions
- Choose blight-resistant varieties where possible
- Remove affected foliage immediately
Watering
- Even moisture is key
- Too dry gives small potatoes
- Waterlogged gives rot
Slugs
Particularly a problem in containers and no-dig systems. Use barriers or traps early.